Red Velvet Cheesecake: A Luscious Dessert You’ll Fall in Love With
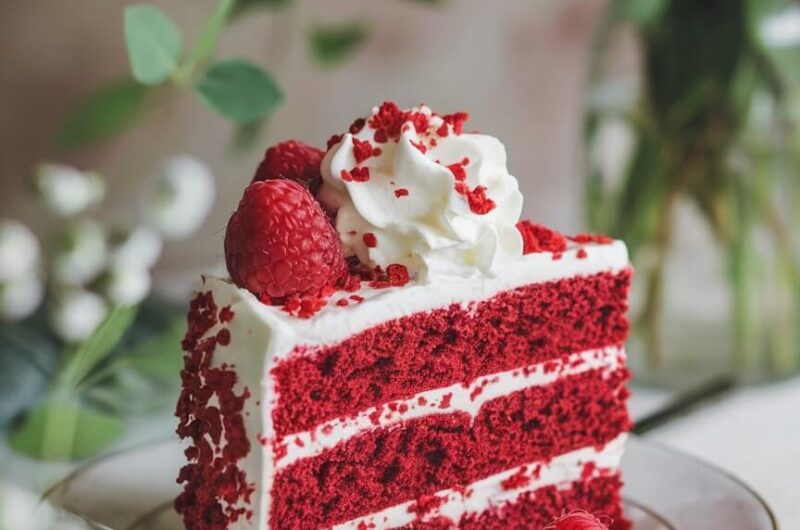
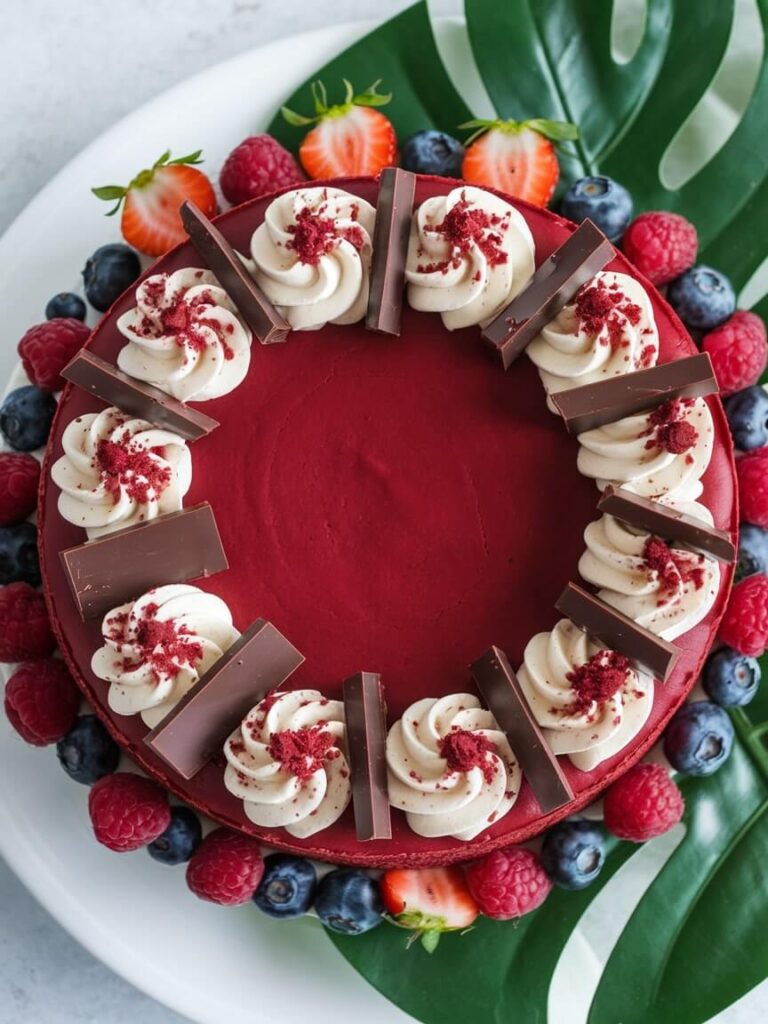
If you’re looking for the perfect combination of elegance and indulgence, red velvet cheesecake is the answer. This stunning dessert layers the velvety richness of classic red velvet cake with the creamy decadence of cheesecake. It’s not just a treat for your taste buds—it’s a feast for the eyes. A showstopper at parties, family gatherings, or romantic dinners, this dessert combines the best of two worlds into one irresistible bite. Its rich red hue, tangy cream cheese flavor, and moist, tender texture make it a crowd-pleaser you’ll want to bake again and again.
The origins of red velvet cake are steeped in history, with its roots dating back to the Victorian era. Paired with cheesecake, it takes on a modern, luxurious twist. Whether you’re celebrating Valentine’s Day or simply want to impress your guests, this dessert will elevate any occasion.
Ingredients
| Ingredient | Quantity |
|---|---|
| All-purpose flour | 2 ½ cups |
| Granulated sugar | 1 ¾ cups |
| Unsweetened cocoa powder | 2 tbsp |
| Baking soda | 1 tsp |
| Salt | ½ tsp |
| Buttermilk | 1 cup |
| Vegetable oil | ¾ cup |
| Eggs | 2 large |
| Red food coloring | 1-2 tbsp |
| Vanilla extract | 1 tsp |
| White vinegar | 1 tsp |
Cheesecake Layer:
| Ingredient | Quantity |
|---|---|
| Cream cheese (softened) | 16 oz (2 blocks) |
| Granulated sugar | ¾ cup |
| Eggs | 2 large |
| Sour cream | ½ cup |
| Vanilla extract | 1 tsp |
Cream Cheese Frosting:
| Ingredient | Quantity |
|---|---|
| Cream cheese (softened) | 8 oz |
| Unsalted butter (softened) | ½ cup |
| Powdered sugar | 3 cups |
| Vanilla extract | 1 tsp |
Equipment Needed
- Mixing bowls: For combining wet and dry ingredients.
- Electric mixer: To achieve a smooth cheesecake and frosting consistency.
- Springform pan (9-inch): Ensures easy removal of the cheesecake layer.
- Round cake pans (2 x 9-inch): For baking the red velvet layers.
- Parchment paper: Prevents sticking and makes transferring layers easier.
- Offset spatula: Ideal for smooth frosting application.
- Cooling racks: Allow even cooling of cake layers and cheesecake.
Step-by-Step Instructions
Prepare the Cheesecake Layer:
- Preheat the oven to 325°F (163°C). Line the bottom of a springform pan with parchment paper and lightly grease the sides.
- In a mixing bowl, beat the cream cheese and sugar until smooth, using an electric mixer on medium speed.
- Add eggs one at a time, mixing well after each addition. Stir in sour cream and vanilla extract until combined.
- Pour the batter into the prepared pan and bake for 40-45 minutes, or until the center is set.
- Allow the cheesecake to cool completely, then refrigerate for at least 4 hours or overnight for best results.
Prepare the Red Velvet Cake:
- Preheat the oven to 350°F (177°C). Grease and line two 9-inch round cake pans with parchment paper.
- In a large bowl, sift together flour, sugar, cocoa powder, baking soda, and salt.
- In another bowl, whisk buttermilk, oil, eggs, red food coloring, vinegar, and vanilla extract until smooth.
- Gradually add the wet ingredients to the dry, mixing until just combined. Avoid overmixing to keep the cake tender.
- Divide the batter evenly between the prepared pans and bake for 30-35 minutes, or until a toothpick inserted in the center comes out clean.
- Cool the cakes in the pans for 10 minutes, then transfer to a cooling rack to cool completely.
Assemble the Cake:
- Place one red velvet cake layer on a serving plate or cake stand. Spread a thin layer of frosting over the top.
- Carefully place the chilled cheesecake layer on top of the frosted cake layer.
- Add the second red velvet cake layer on top of the cheesecake. Frost the entire cake with cream cheese frosting, smoothing it with an offset spatula.
- Decorate as desired with piped frosting, chocolate shavings, or edible red velvet crumbs.
Tips and Variations
- Make it Gluten-Free: Substitute all-purpose flour with a gluten-free baking blend.
- Dye-Free Version: Skip the red food coloring for a natural cocoa hue and call it a “Velvet Cheesecake.”
- Flavor Twist: Add a hint of orange zest or almond extract to the frosting for an extra dimension of flavor.
- Layer Stability: To keep layers from sliding, chill the assembled cake for 30 minutes before frosting.
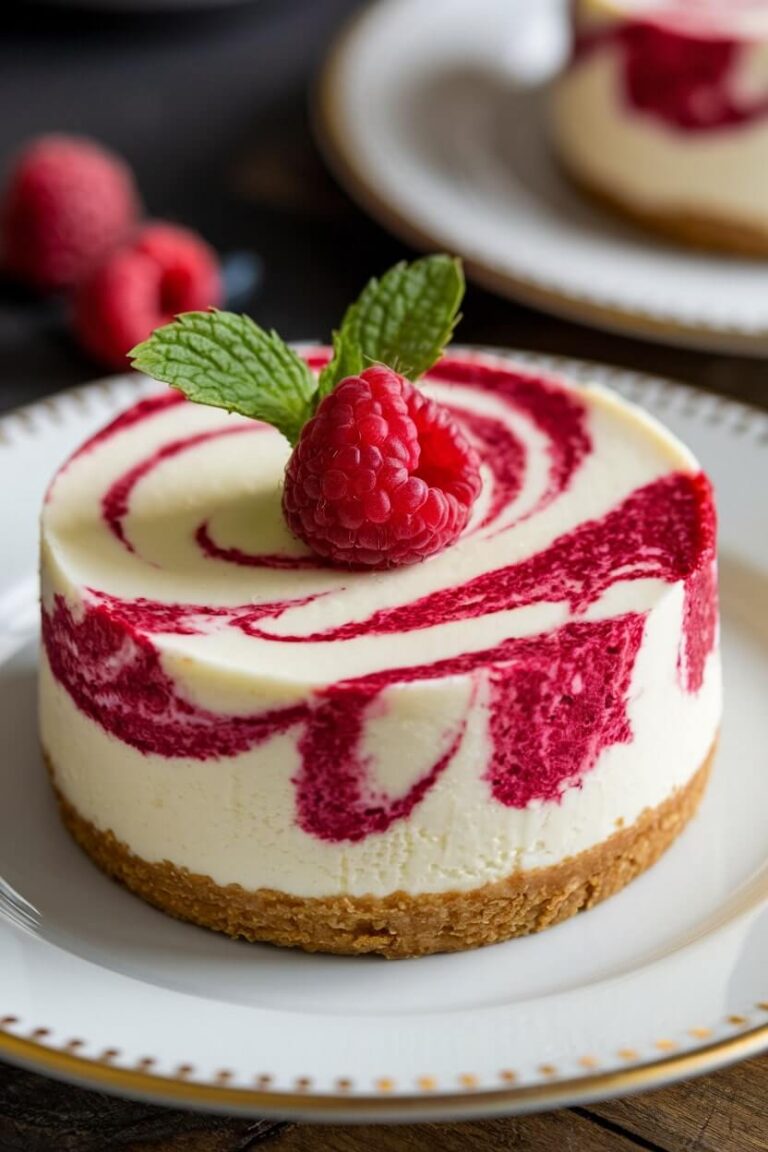
- Mini Cheesecakes: Use a muffin tin to create individual portions with the same layering concept.
Serving Suggestions
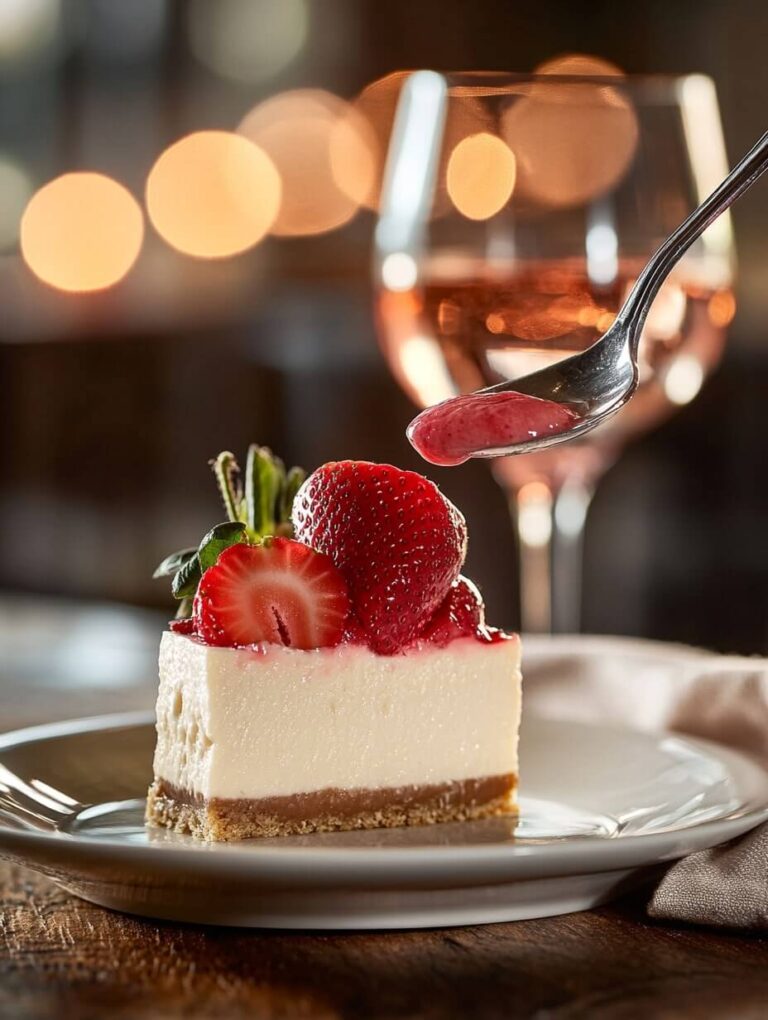
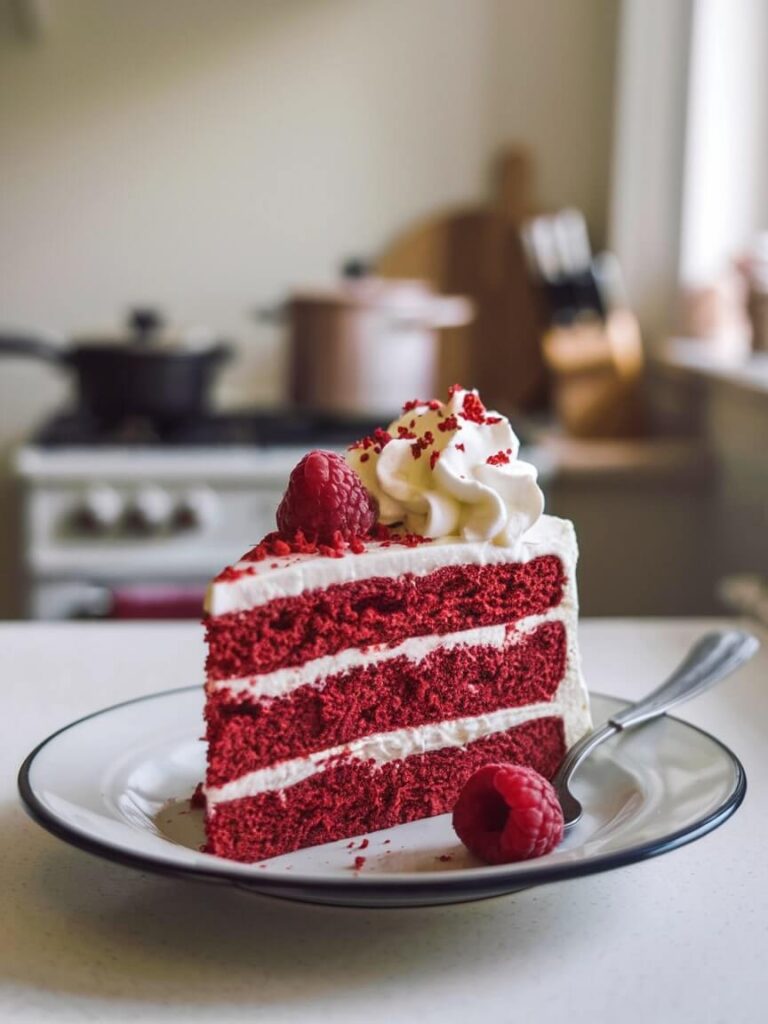
Serve slices on dessert plates garnished with fresh berries or a drizzle of chocolate sauce. Pair it with a dollop of whipped cream for added indulgence. For a festive touch, sprinkle edible gold dust over the frosting or add heart-shaped decorations for Valentine’s Day.
Pairings
- Beverages: Pair with a glass of sparkling rosé or a creamy cappuccino. The tangy cheesecake notes are beautifully complemented by the effervescence of bubbly drinks or the rich, bitter notes of coffee.
- Cocktail Idea: A red velvet martini, made with vodka, cream, and a splash of red liqueur, mirrors the dessert’s decadence.
Storage and Reheating
Store leftovers in an airtight container in the refrigerator for up to 5 days. For longer storage, wrap individual slices in plastic wrap and freeze for up to 3 months. Thaw frozen slices overnight in the refrigerator. Cheesecake can be enjoyed cold, but if you prefer the cake layer slightly warm, microwave a slice for 10-15 seconds.
Nutritional Information
| Nutrient | Per Serving |
|---|---|
| Calories | ~550 |
| Fat | 35g |
| Carbohydrates | 55g |
| Protein | 6g |
| Allergens | Contains dairy, eggs, and gluten |
Nutrition information is automatically calculated, so should only be used as an approximation.
Conclusion
Red velvet cheesecake is a dessert that combines visual allure with irresistible flavor. Its vibrant red velvet layers are perfectly complemented by the creamy, tangy cheesecake filling and smooth cream cheese frosting, creating a treat that is as indulgent as it is elegant. Whether you’re making it for a special occasion or simply to treat yourself, this dessert is guaranteed to impress with its showstopping appearance and luxurious taste. The balance of moist cake, rich cheesecake, and velvety frosting ensures every bite is pure perfection.
This recipe invites creativity, from experimenting with flavors to adding your unique decorative touches. It’s a versatile dessert that can be tailored to fit holidays, celebrations, or personal preferences. Whether you’re serving it at a party or sharing it with loved ones, red velvet cheesecake is sure to be a hit. Don’t forget to share your results, leave a comment, or post a photo on social media to inspire others to try this masterpiece. Once you make it, you’ll want to bake it again and again!
Red Velvet Cheesecake: A Luscious Dessert You’ll Fall in Love With
12
servings40
minutes1
hour20
minutes7
hoursIngredients
- Crust
1½ cups finely crushed chocolate wafer cookies (approximately 28 cookies)
5 tablespoons unsalted butter, melted
⅓ cup granulated sugar
Pinch of salt
- Cheesecake Filling
32 ounces (four 8-ounce packages) cream cheese, softened
1¼ cups granulated sugar
1 tablespoon fresh lemon juice
1 teaspoon vanilla extract
2 tablespoons all-purpose flour
4 large eggs
1 tablespoon unsweetened cocoa powder
1 teaspoon red food coloring
- Cream Cheese Topping
3 ounces cream cheese, softened
¼ cup unsalted butter, softened
2 cups powdered sugar
1 teaspoon vanilla extract
Directions
- Prepare the cheesecake layer (as detailed above).
- Bake red velvet cake layers (as detailed above).
- Assemble and frost the cake (as detailed above).

