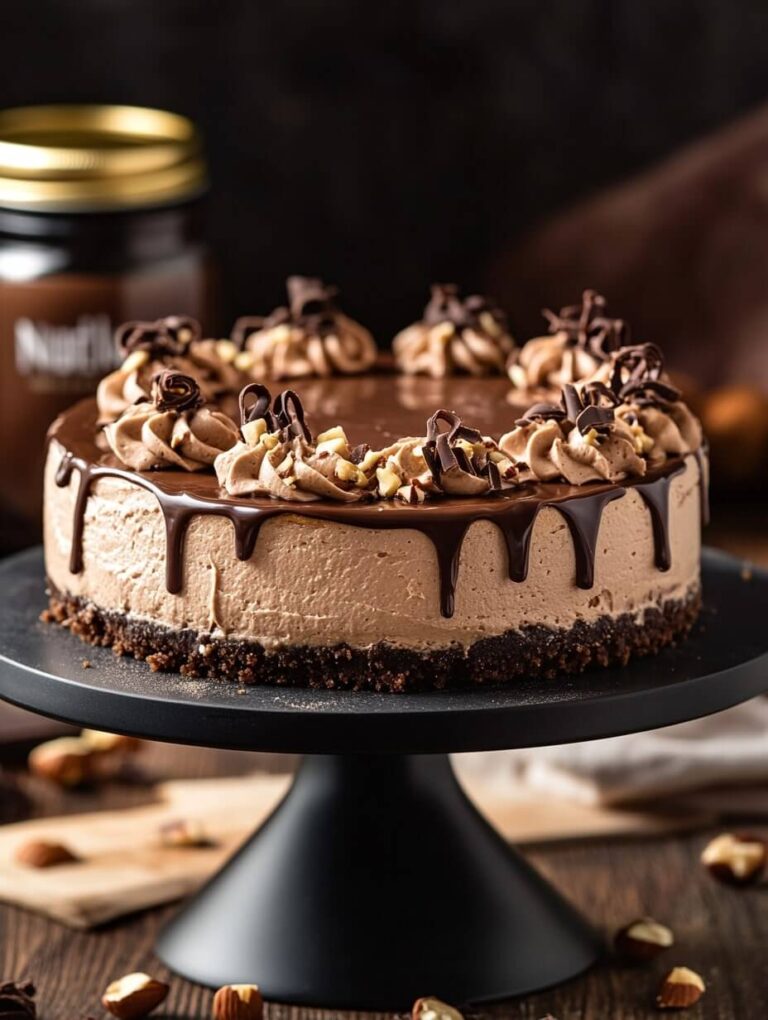
Peanut Butter Oreo Cheesecake: A Decadent Delight
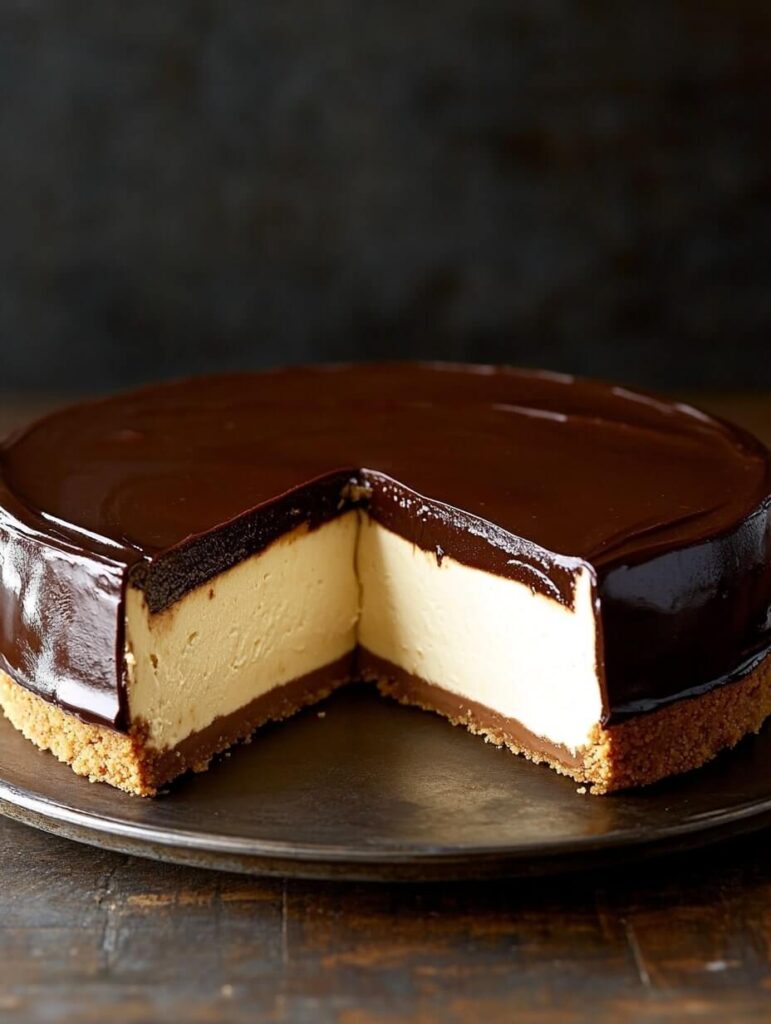
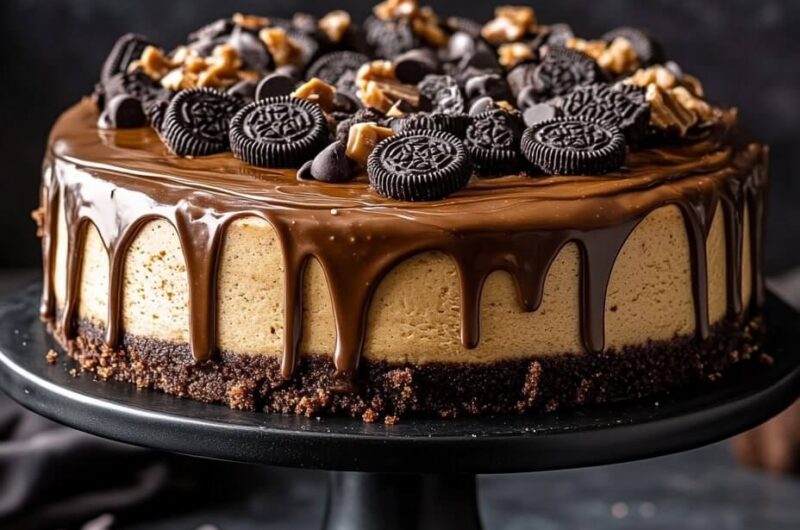
Rich, creamy, and irresistibly indulgent, Peanut Butter Oreo Cheesecake is the ultimate dessert for anyone who loves the heavenly combination of chocolate and peanut butter. Featuring layers of crushed Oreos, smooth peanut butter cheesecake filling, and a velvety chocolate ganache topping, this recipe blends contrasting textures and flavors into a dessert that’s both sophisticated and utterly satisfying. Perfect for celebrations or simply when you’re craving a slice of something spectacular, this cheesecake is surprisingly straightforward to make. Plus, it’s a no-bake recipe, which means you don’t need to stress about oven temperatures or complicated techniques.
Whether you’re a seasoned baker or a dessert enthusiast looking to impress, this cheesecake will be a guaranteed showstopper. Read on for a step-by-step guide to crafting this indulgent treat.
Ingredients
| Ingredient | Quantity |
|---|---|
| Oreo cookies (filling removed) | 30 cookies (approx.) |
| Unsalted butter (melted) | 1/3 cup |
| Cream cheese (softened) | 16 oz (2 blocks) |
| Smooth peanut butter | 1 cup |
| Powdered sugar | 1 1/4 cups |
| Heavy cream | 1 cup |
| Vanilla extract | 1 tsp |
| Semi-sweet chocolate chips | 1 cup |
| Heavy cream (for ganache) | 1/2 cup |
| Crushed Oreos (for topping) | 1/2 cup (optional) |
Ingredient Notes
- Oreos: Use classic Oreos or opt for chocolate cream-filled ones for an extra chocolaty flavor. Gluten-free versions can work for a gluten-free cheesecake.
- Peanut Butter: Avoid natural or chunky peanut butter, as they may affect the cheesecake’s creamy texture.
- Cream Cheese: Bring it to room temperature for easier mixing and a smoother filling.
- Heavy Cream: For the fluffiest texture, whip until soft peaks form before incorporating into the cheesecake batter.
Equipment Needed
- 9-inch springform pan: Essential for easily releasing the cheesecake without damaging its structure.
- Food processor or zip-top bag and rolling pin: For crushing Oreos into a fine crumb.
- Electric mixer: Speeds up the process of whipping and ensures a silky cheesecake filling.
- Rubber spatula: Great for folding whipped cream into the peanut butter mixture gently.
- Double boiler or microwave-safe bowl: For melting chocolate for the ganache topping.
Step-by-Step Instructions
Preparing the Crust
- Place the Oreo cookies (with filling removed) in a food processor and pulse until finely crushed. Alternatively, place them in a zip-top bag and crush with a rolling pin.
- Combine the crushed Oreos with melted butter in a mixing bowl. Mix until the crumbs are evenly moistened.
- Press the mixture firmly into the bottom of a 9-inch springform pan, creating an even layer. Use the back of a measuring cup to ensure a compact crust. Refrigerate for at least 30 minutes.
Making the Peanut Butter Cheesecake Filling
- In a large mixing bowl, beat the softened cream cheese with an electric mixer until smooth and creamy.
- Add the peanut butter, powdered sugar, and vanilla extract, then beat until fully combined.
- In a separate bowl, whip the heavy cream until soft peaks form. Gently fold the whipped cream into the peanut butter mixture using a rubber spatula.
- Spread the filling evenly over the chilled crust, smoothing the top with a spatula. Refrigerate for at least 4 hours, or until the cheesecake is fully set.
Preparing the Chocolate Ganache
- Heat the heavy cream (for ganache) in a small saucepan over medium heat until it begins to simmer.
- Remove from heat and pour over the chocolate chips in a heatproof bowl. Let sit for 1-2 minutes, then stir until smooth and glossy.
- Allow the ganache to cool slightly before pouring it over the cheesecake. Spread evenly with a spatula and let it drip over the edges for a dramatic effect.
Final Assembly and Garnish
- Sprinkle crushed Oreos over the ganache before it sets for an extra crunch.
- Refrigerate the cheesecake for an additional 1-2 hours to set the ganache.
Tips and Variations
- Make It Vegan: Use dairy-free cream cheese, coconut cream instead of heavy cream, and vegan chocolate chips. Opt for vegan Oreos to keep it plant-based.
- Add Layers: Spread a thin layer of caramel or peanut butter between the crust and cheesecake filling for a flavor twist.
- Nut-Free Option: Swap the peanut butter for sunflower seed butter for a nut-free version.
- Decorative Touches: Pipe whipped cream rosettes around the edges before serving for a professional finish.
Serving Suggestions
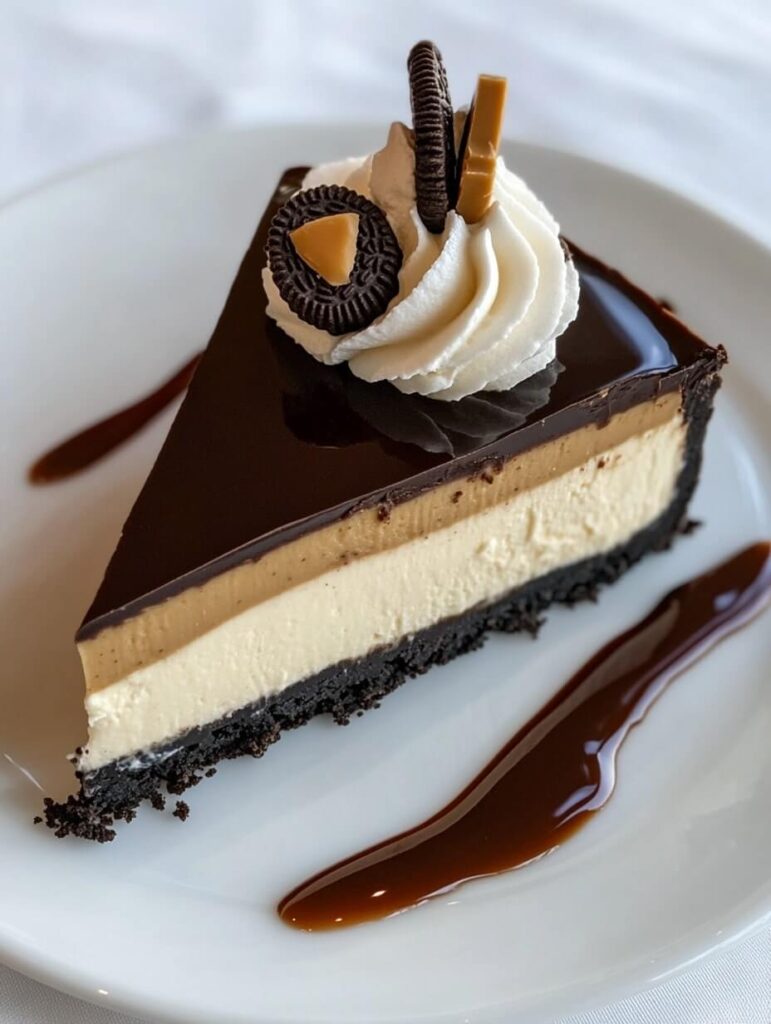
To elevate the presentation, serve slices of cheesecake on dessert plates with a drizzle of chocolate sauce and a sprinkle of crushed peanuts. Add a dollop of whipped cream on the side or a single Oreo cookie perched on top of each slice for a whimsical touch.
This cheesecake pairs wonderfully with vanilla bean ice cream or a chilled glass of milk. For a more elegant pairing, serve it with espresso or a mocha latte.
Pairings
The creamy, nutty flavors of the cheesecake are beautifully complemented by drinks like:
- Salted Caramel Latte: The caramel adds sweetness while balancing the peanut butter’s richness.
- Chocolate Milkshake: Intensifies the chocolate flavors and adds nostalgia to the experience.
- Dessert Wine: A glass of tawny port or a rich sherry highlights the sweetness and creaminess of the cheesecake.
Storage and Reheating
To store, cover the cheesecake tightly with plastic wrap or aluminum foil and refrigerate for up to 5 days. For longer storage, freeze individual slices in an airtight container for up to 2 months. Thaw frozen slices in the refrigerator overnight.
Reheating isn’t typically needed for this dessert. However, if the ganache firms up too much in the fridge, let the cheesecake sit at room temperature for 10-15 minutes before serving for a softer texture.
Nutritional Information
| Per Serving (1/12 slice) | Approx. Value |
|---|---|
| Calories | 460 |
| Total Fat | 34g |
| Saturated Fat | 18g |
| Carbohydrates | 35g |
| Protein | 7g |
| Allergens | Dairy, peanuts, gluten (depending on Oreo choice) |
Nutrition information is automatically calculated, so should only be used as an approximation.
Conclusion
Peanut Butter Oreo Cheesecake is a dessert lover’s dream come true, combining the rich flavors of peanut butter and chocolate in an effortlessly creamy and indulgent treat. Its no-bake nature makes it approachable for both experienced bakers and beginners, while the combination of textures—from the crunchy Oreo crust to the velvety cheesecake filling and luscious ganache topping—delivers an unforgettable experience in every bite. Whether you’re celebrating a special occasion or simply treating yourself, this cheesecake is bound to impress.
Beyond its incredible taste, this dessert is endlessly customizable to suit different preferences or dietary needs. You can add creative garnishes, layer in extra flavors, or pair it with your favorite beverages to elevate the experience even further. Give this recipe a try, and don’t forget to share your results with friends, family, or on social media. We’d love to see your creations and hear about any personal twists you’ve added to make this cheesecake your own!
Peanut Butter Oreo Cheesecake: A Decadent Delight
12
slices20
minutes6
hours6
hours20
minutesIngredients
Oreo cookies: 30 (filling removed)
Unsalted butter: 1/3 cup (melted)
Cream cheese: 16 oz (softened)
Smooth peanut butter: 1 cup
Powdered sugar: 1 1/4 cups
Heavy cream: 1 cup (whipped to soft peaks)
Vanilla extract: 1 tsp
Semi-sweet chocolate chips: 1 cup
Heavy cream (for ganache): 1/2 cup
Directions
- Crush Oreos and combine with melted butter to form the crust. Press into a 9-inch springform pan and refrigerate.
- Beat cream cheese, peanut butter, powdered sugar, and vanilla. Fold in whipped cream. Spread over the crust and chill.
- Prepare ganache by melting chocolate chips with heated cream. Pour over the cheesecake. Chill again.
- Garnish with crushed Oreos and refrigerate until set.