Red Velvet Cupcakes: A Classic Treat with a Velvety Touch
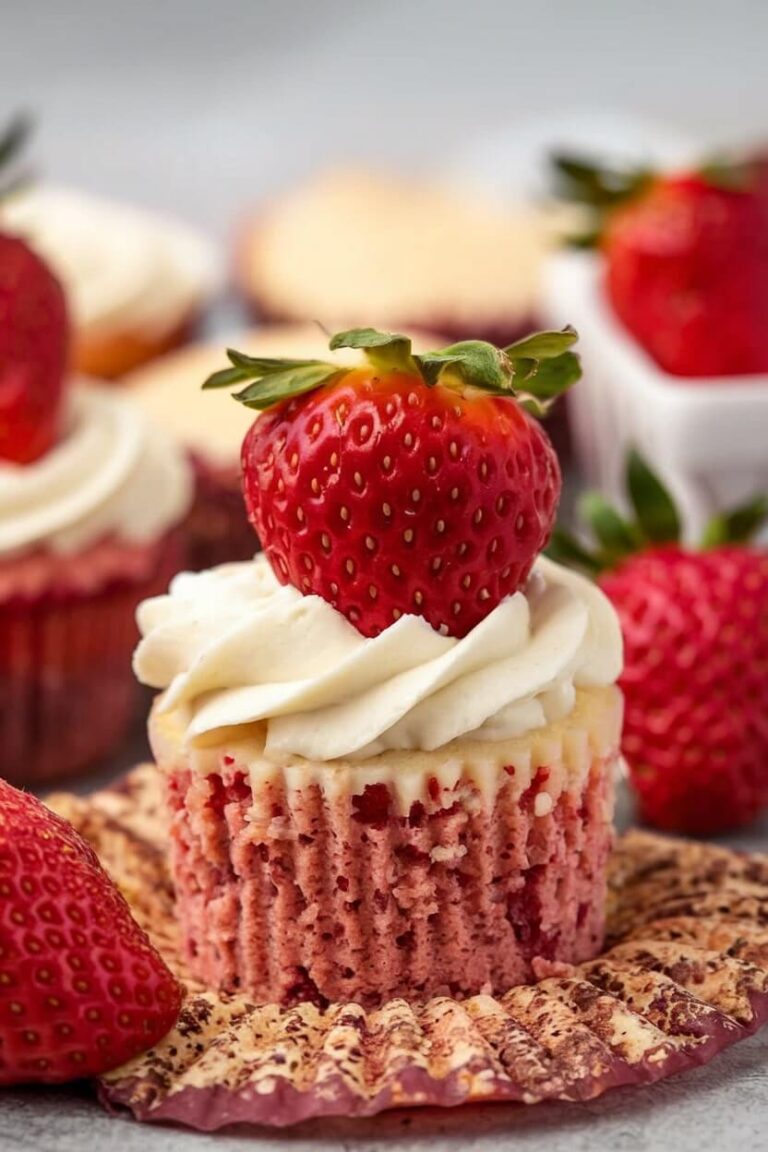
Red velvet cupcakes are the epitome of indulgence, blending a soft, fluffy texture with a delicate cocoa flavor and a signature red hue. Topped with luscious cream cheese frosting, these cupcakes strike the perfect balance between sweet and tangy, making them a favorite for any occasion. Whether for birthdays, weddings, or just a cozy afternoon treat, red velvet cupcakes never fail to impress.
Originating from the early 20th century, red velvet cake became popular during the Great Depression when food coloring and buttermilk were used to enhance both appearance and flavor. Today, this beloved classic continues to be a showstopper, offering a unique, mildly chocolatey taste with a slight tartness from the buttermilk and vinegar.
If you’re looking for a fail-proof, bakery-style red velvet cupcake recipe, you’re in the right place. These cupcakes are moist, rich, and incredibly easy to make. The best part? You don’t need to be a professional baker to achieve that iconic red velvet perfection!
Ingredients
Here’s everything you’ll need to make these delicious red velvet cupcakes:
| Ingredient | Quantity |
|---|---|
| All-purpose flour | 1 ¼ cups |
| Granulated sugar | ¾ cup |
| Unsweetened cocoa powder | 1 tbsp |
| Baking soda | ½ tsp |
| Salt | ¼ tsp |
| Unsalted butter (softened) | ½ cup (1 stick) |
| Large egg | 1 |
| Buttermilk | ½ cup |
| White vinegar | ½ tsp |
| Vanilla extract | 1 tsp |
| Red food coloring (liquid) | 1 tbsp |
For the Cream Cheese Frosting
| Ingredient | Quantity |
|---|---|
| Cream cheese (softened) | 8 oz (1 block) |
| Unsalted butter (softened) | ½ cup (1 stick) |
| Powdered sugar | 2 cups |
| Vanilla extract | 1 tsp |
Ingredient Notes:
- Buttermilk: Essential for a tender crumb. If unavailable, make a substitute by mixing ½ cup milk with ½ tbsp lemon juice or vinegar.
- Cocoa Powder: Use natural, unsweetened cocoa powder for the best color and taste.
- Food Coloring: Liquid food coloring works well, but gel food coloring provides a more intense hue with less liquid.
Equipment Needed
- Mixing Bowls – For combining wet and dry ingredients separately.
- Electric Mixer or Whisk – To ensure a smooth, lump-free batter.
- Muffin Tin & Cupcake Liners – Essential for perfectly shaped cupcakes.
- Measuring Cups & Spoons – For accurate ingredient proportions.
- Wire Rack – For cooling cupcakes evenly.
Step-by-Step Instructions
Step 1: Prepare the Oven and Muffin Tin
Preheat your oven to 350°F (175°C) and line a muffin tin with cupcake liners. This prevents sticking and makes cleanup easier.
Step 2: Mix Dry Ingredients
In a medium bowl, whisk together the flour, cocoa powder, baking soda, and salt. Sifting the dry ingredients ensures a lighter, smoother cupcake texture.
Step 3: Cream Butter and Sugar
In a large bowl, beat the softened butter and granulated sugar together until light and fluffy (about 2-3 minutes). This step helps create an airy texture in the cupcakes.
Step 4: Add the Wet Ingredients
Beat in the egg, then mix in the vanilla extract and red food coloring. Add the buttermilk and vinegar, ensuring everything is well combined.
Step 5: Combine Wet and Dry Mixtures
Gradually add the dry ingredients to the wet ingredients, mixing on low speed just until combined. Overmixing can lead to dense cupcakes, so mix only until you no longer see dry flour.
Step 6: Bake the Cupcakes
Fill each cupcake liner about ⅔ full with batter. Bake for 18-20 minutes or until a toothpick inserted in the center comes out clean. Let them cool in the tin for 5 minutes before transferring them to a wire rack to cool completely.
Step 7: Make the Cream Cheese Frosting
Beat the softened cream cheese and butter together until smooth. Gradually add powdered sugar and vanilla extract, beating until light and fluffy.
Step 8: Frost and Decorate
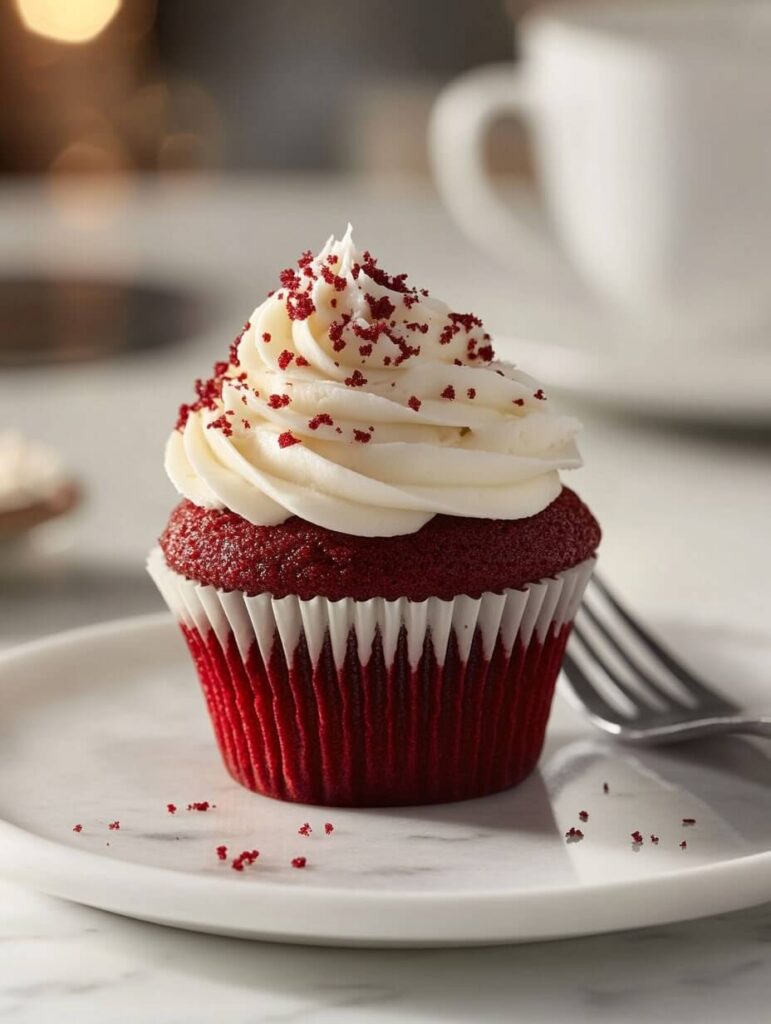
Once cupcakes are completely cool, pipe or spread the frosting on top. Garnish with red velvet crumbs, chocolate shavings, or sprinkles for an elegant finish.
Tips and Variations
- Make It Extra Moist: Substitute half of the butter with vegetable oil for a softer texture.
- No Buttermilk? Use a mix of milk and lemon juice (or vinegar) as a substitute.
- Gluten-Free Option: Swap all-purpose flour for a gluten-free 1:1 baking flour.
- Vegan Red Velvet Cupcakes: Use dairy-free butter, plant-based milk with vinegar, and a flax egg (1 tbsp flaxseed + 3 tbsp water).
- More Chocolatey? Increase cocoa powder to 2 tbsp for a richer flavor.
Serving Suggestions
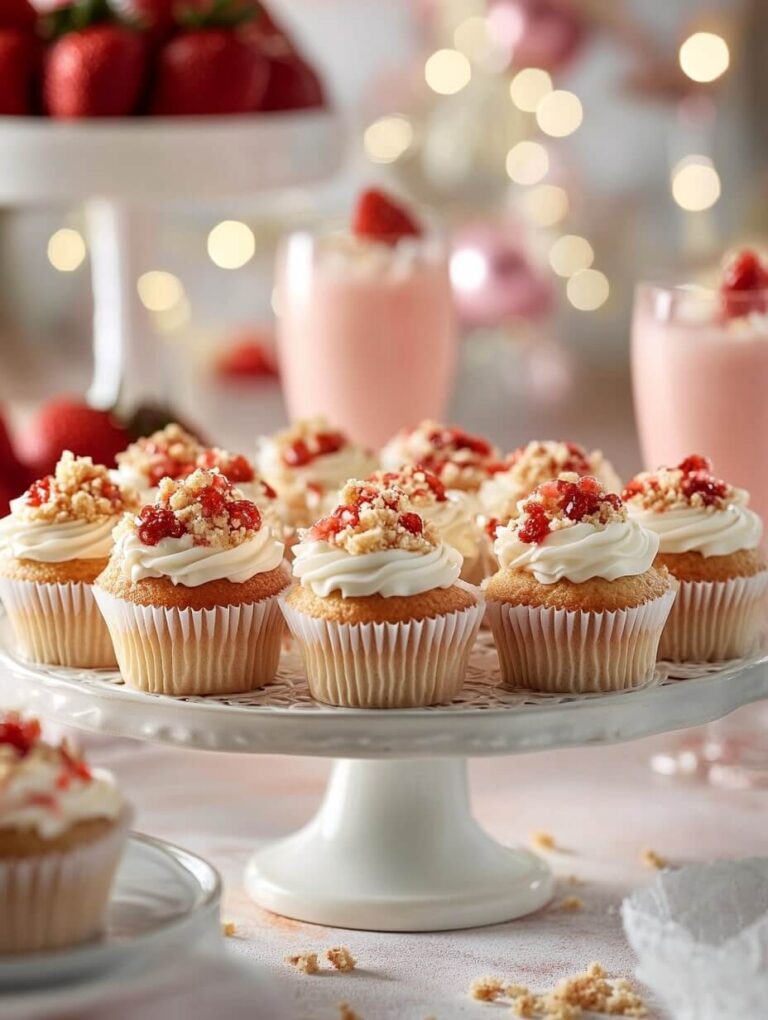
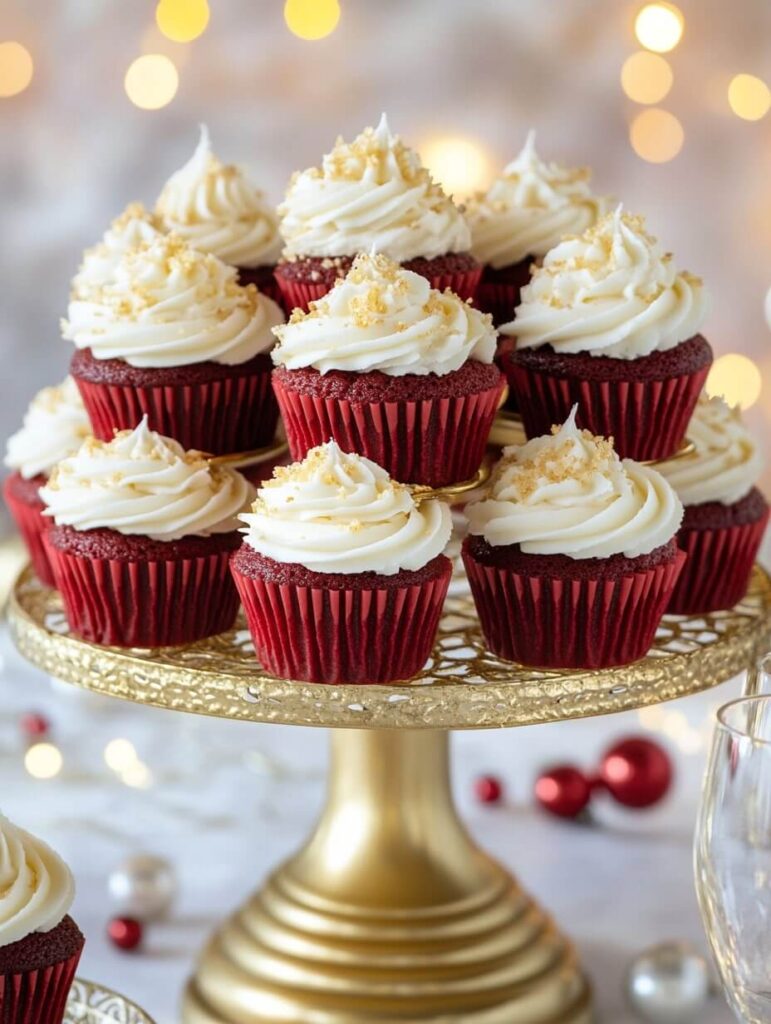
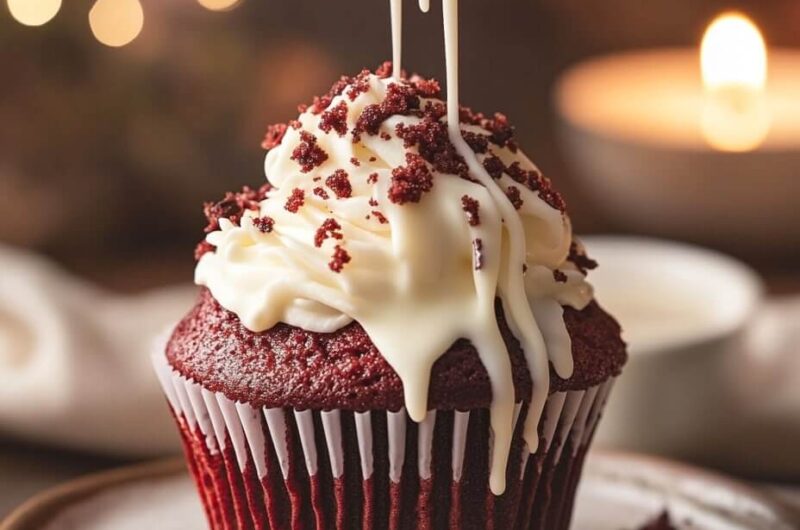
For a stunning presentation, pipe the frosting into tall swirls using a star tip nozzle. Sprinkle crushed red velvet cake crumbs or drizzle melted white chocolate over the cupcakes.
Pair these cupcakes with:
- A glass of cold milk for a classic pairing.
- Espresso or cappuccino to complement the tangy cream cheese frosting.
- Fresh berries on the side for added freshness.
Storage and Reheating
- Room Temperature: Store unfrosted cupcakes in an airtight container for up to 2 days.
- Refrigeration: Frosted cupcakes should be stored in an airtight container in the fridge for up to 5 days.
- Freezing: Wrap unfrosted cupcakes in plastic wrap and freeze for up to 3 months. Thaw at room temperature before frosting.
Nutritional Information (Per Cupcake)
| Nutrient | Amount |
|---|---|
| Calories | ~280 kcal |
| Carbohydrates | 35g |
| Protein | 3g |
| Fat | 14g |
| Sugar | 25g |
Nutrition information is automatically calculated and should only be used as an approximation.
Conclusion
Red velvet cupcakes are a timeless dessert that combines elegance with irresistible flavor. Their vibrant red hue, paired with the delicate balance of cocoa and tangy cream cheese frosting, makes them a standout treat for any occasion. Whether you’re baking for a celebration or simply indulging in a homemade delight, these cupcakes offer the perfect balance of moist, tender texture and rich, creamy topping. With simple ingredients and an easy-to-follow recipe, anyone can achieve bakery-quality results right from their own kitchen.
If you haven’t tried making red velvet cupcakes from scratch, now is the perfect time to start. The joy of baking these little masterpieces, from mixing the batter to piping the frosting, is as rewarding as enjoying their decadent taste. Don’t forget to get creative with your presentation—whether it’s a sprinkle of red velvet crumbs or a drizzle of white chocolate, every detail adds to the experience. Give this recipe a try, and share your delicious results with friends and family. Happy baking!
Red Velvet Cupcakes: A Classic Treat with a Velvety Touch
12
cupcakes15
minutes20
minutes35
minutesIngredients
1 ¼ cups all-purpose flour
¾ cup granulated sugar
1 tbsp unsweetened cocoa powder
½ tsp baking soda
¼ tsp salt
½ cup unsalted butter, softened
1 large egg
½ cup buttermilk
½ tsp white vinegar
1 tsp vanilla extract
1 tbsp red food coloring
- For the Frosting:
8 oz cream cheese, softened
½ cup unsalted butter, softened
2 cups powdered sugar
1 tsp vanilla extract
Directions
- Preheat oven to 350°F (175°C) and line a muffin tin with cupcake liners.
- Mix dry ingredients in a bowl. In another bowl, cream butter and sugar.
- Add egg, vanilla, red food coloring, buttermilk, and vinegar to the wet mix.
- Combine wet and dry mixtures, mixing gently.
- Fill liners ⅔ full and bake for 18-20 minutes. Cool completely.
- Beat cream cheese, butter, sugar, and vanilla for frosting.
- Frost cupcakes and garnish as desired.