Snow Cone Mini Cupcakes: A Frosty Treat in Every Bite!
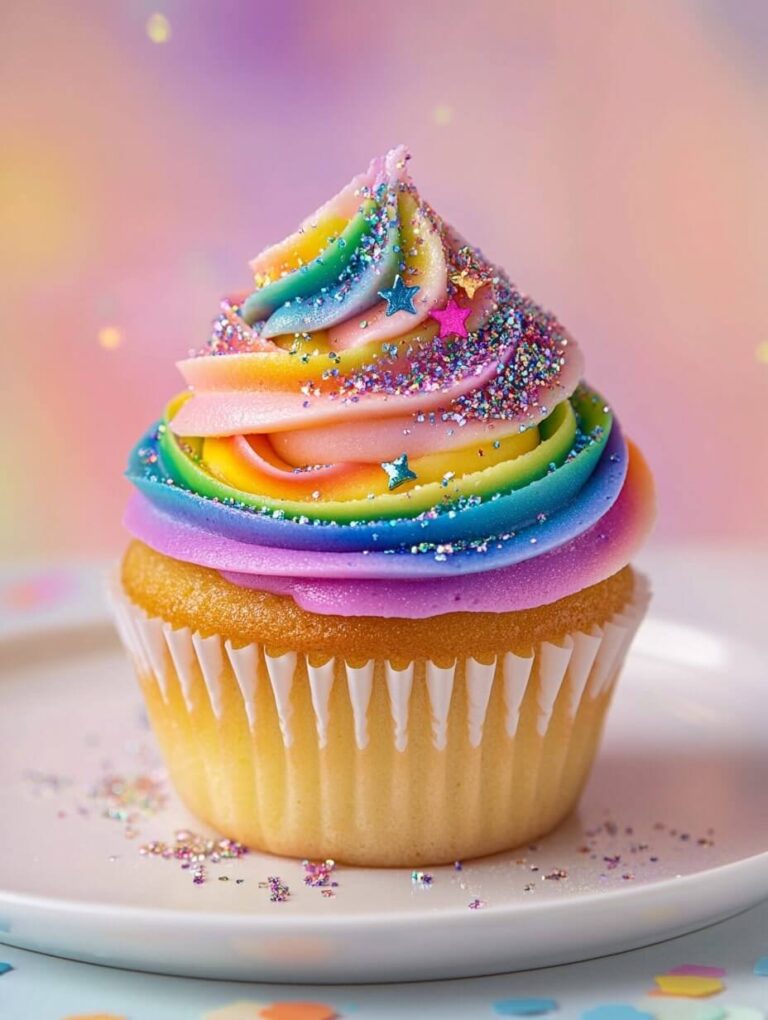
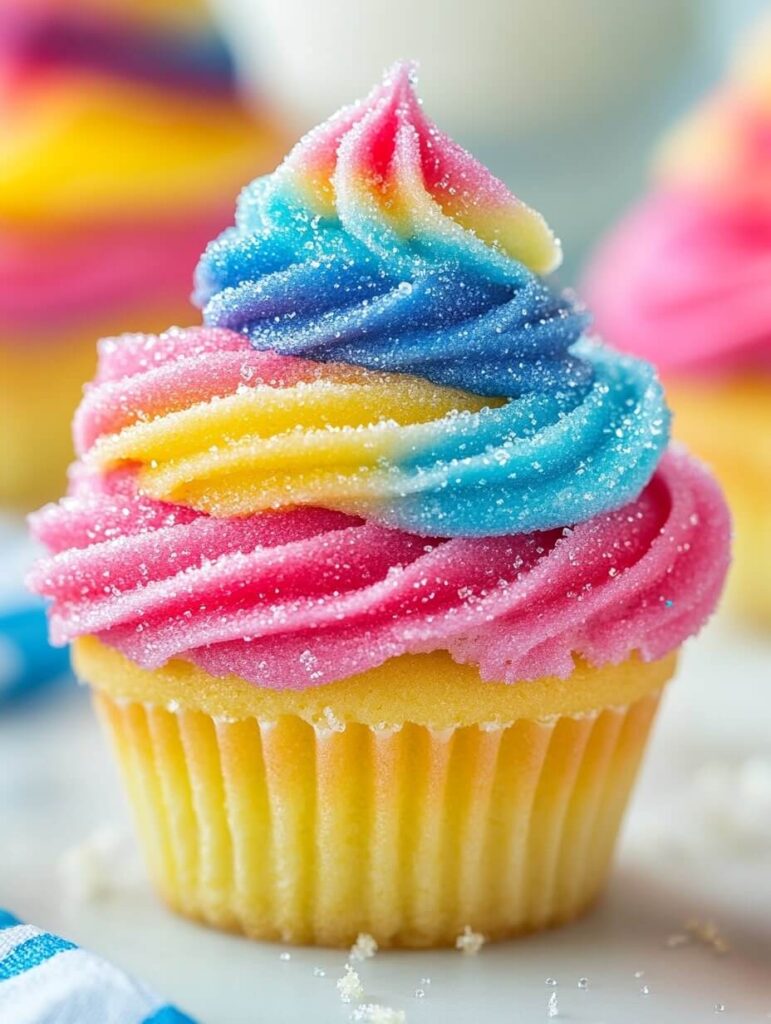
Snow cone mini cupcakes bring the vibrant colors and refreshing appeal of a classic summer treat into a delightful bite-sized dessert. These cupcakes capture the nostalgia of snow cones with their bright, rainbow-like frosting and a sweet, slightly tangy flavor profile reminiscent of syrup-drenched shaved ice. A fluffy vanilla cupcake base meets fruity flavors like cherry, blue raspberry, and lemon, all topped with a sugar-coated frosting that mimics the icy texture of a real snow cone.
Perfect for summer parties, birthdays, or any fun gathering, these cupcakes are as visually stunning as they are delicious. Kids and adults alike will love their festive appearance and melt-in-your-mouth sweetness. Whether you’re hosting a carnival-themed event or just want to add some fun to your dessert table, these snow cone mini cupcakes are a surefire hit!
Ingredients
| Ingredient | Quantity |
|---|---|
| All-purpose flour | 1 ¼ cups |
| Baking powder | 1 ½ tsp |
| Salt | ¼ tsp |
| Unsalted butter (softened) | ½ cup (1 stick) |
| Granulated sugar | ¾ cup |
| Large egg | 1 |
| Vanilla extract | 1 tsp |
| Whole milk | ½ cup |
Frosting & Decoration
| Ingredient | Quantity |
|---|---|
| Unsalted butter (softened) | ½ cup (1 stick) |
| Powdered sugar | 2 cups |
| Heavy cream or milk | 2-3 tbsp |
| Vanilla extract | 1 tsp |
| Red, blue, and yellow food coloring | As needed |
| Cherry, blue raspberry, and lemon extract | ½ tsp each |
| White sparkling sugar or granulated sugar | For coating |
| Mini cupcake liners | 24 |
Tip: You can swap whole milk with buttermilk for extra softness. If you don’t have specific extracts, you can use fruit syrups or even Kool-Aid powder for flavoring.

Equipment Needed
- Mini cupcake pan – To bake the perfect bite-sized treats.
- Mixing bowls – For combining wet and dry ingredients.
- Electric mixer – Helps achieve a fluffy batter and creamy frosting.
- Piping bags & round piping tip – For neatly applying the frosting.
- Food-safe paintbrush (optional) – To blend colors for a more realistic snow cone effect.
Step-by-Step Instructions
1. Prepare the Cupcake Batter
Preheat your oven to 350°F (175°C) and line a mini cupcake pan with paper liners. In a medium bowl, whisk together the flour, baking powder, and salt. Set aside.
In a separate large mixing bowl, beat the softened butter and sugar together using an electric mixer until light and fluffy (about 2-3 minutes). Add the egg and vanilla extract, mixing well.
Gradually add the dry ingredients to the butter mixture, alternating with the milk, beginning and ending with the dry ingredients. Mix just until combined—avoid overmixing to keep the cupcakes tender.
2. Bake the Cupcakes
Spoon the batter evenly into the mini cupcake liners, filling each about ⅔ full. Bake for 12-15 minutes, or until a toothpick inserted into the center comes out clean. Remove from the oven and allow them to cool completely on a wire rack before frosting.
3. Make the Frosting
In a large bowl, beat the butter until creamy. Gradually add powdered sugar, beating on low speed to prevent messes. Add the vanilla extract and heavy cream (or milk) and beat on high until fluffy (about 2-3 minutes).
4. Color and Flavor the Frosting
Divide the frosting into three equal portions. Mix each with a different food coloring and flavoring:
- Red frosting with cherry extract
- Blue frosting with blue raspberry extract
- Yellow frosting with lemon extract
5. Pipe & Decorate the Cupcakes
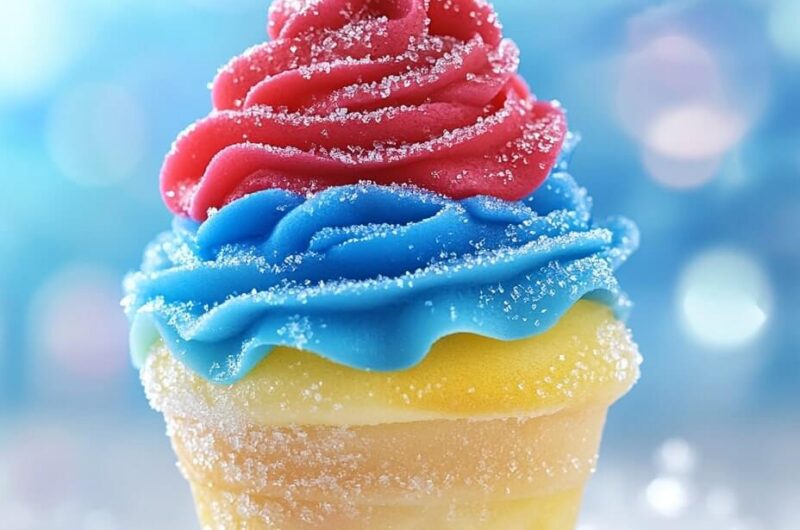
Using a piping bag, apply a swirl of frosting to each cupcake, layering the three colors diagonally to resemble a real snow cone. Blend the colors slightly using a food-safe paintbrush for a gradient effect.
Immediately after frosting, roll or sprinkle each cupcake with white sparkling sugar to create the icy look of a real snow cone.
Tips & Variations
- For a realistic snow cone effect, use sanding sugar or coarse sugar crystals instead of regular granulated sugar. This enhances the visual texture.
- Want a frozen treat? Pop the cupcakes in the fridge for 10-15 minutes before serving to slightly firm up the frosting.
- Try different flavors! Swap extracts with strawberry, lime, or even pineapple for a tropical twist.
- Make it dairy-free: Use vegan butter and almond milk in place of butter and whole milk.
Serving Suggestions
To enhance the fun theme, serve these mini cupcakes in small paper snow cone cups instead of traditional liners. Arrange them on a tray filled with crushed ice for an eye-catching display at summer parties.
Pair these cupcakes with fruity toppings like maraschino cherries or a drizzle of fruit syrup. If you’re making them for a birthday party, consider serving them alongside actual snow cones for a double treat!
Pairings
Since these cupcakes are fruity and sweet, they pair well with refreshing beverages. Consider serving them with:
- Lemonade – The tartness balances the sweetness.
- Fruit punch – Complements the fruity flavors of the frosting.
- Iced tea – Adds a slightly bitter contrast to the sugary goodness.
- Margaritas (for adults!) – A fun, citrusy cocktail pairing.
Storage & Reheating
Store leftover cupcakes in an airtight container at room temperature for up to 2 days or in the refrigerator for up to 5 days. If storing in the fridge, allow them to come to room temperature before serving for the best texture.
To freeze, place the cupcakes (without frosting) in an airtight container and freeze for up to 3 months. Thaw at room temperature, then frost and decorate before serving.
Nutritional Information
| Nutrient | Per Cupcake |
|---|---|
| Calories | ~150 |
| Carbohydrates | 20g |
| Fat | 7g |
| Protein | 1g |
| Sugar | 15g |
Nutrition information is automatically calculated, so should only be used as an approximation.
Conclusion
Snow cone mini cupcakes are the perfect fusion of fun, flavor, and nostalgia. With their vibrant tri-colored frosting, sugary sparkle, and fruity flavors, they bring the charm of a classic summer treat into a delightful handheld dessert. Whether you’re hosting a birthday party, a summer cookout, or just looking to add some excitement to your baking, these cupcakes are guaranteed to impress. Their light, fluffy texture and playful presentation make them a hit with both kids and adults, and the customizable flavors let you get creative with every batch.
Beyond their eye-catching appeal, these cupcakes are surprisingly easy to make, requiring just a few basic ingredients and simple decorating techniques. The sugar-coated frosting mimics the icy texture of real snow cones, making each bite as visually stunning as it is delicious. If you love fun desserts that bring smiles to every table, these snow cone mini cupcakes are a must-try. So, grab your piping bags, mix up some colorful frosting, and get ready to enjoy a taste of summer in every bite!
Snow Cone Mini Cupcakes: A Frosty Treat in Every Bite!
24
mini cupcakes15
minutes20
minutes35
minutesIngredients
1 ¼ cups all-purpose flour
1 ½ tsp baking powder
¼ tsp salt
½ cup unsalted butter (softened)
¾ cup granulated sugar
1 large egg
1 tsp vanilla extract
½ cup whole milk
- Frosting & Decoration:
½ cup unsalted butter
2 cups powdered sugar
2-3 tbsp heavy cream or milk
1 tsp vanilla extract
Food coloring (red, blue, yellow)
Flavored extracts (cherry, blue raspberry, lemon)
Sparkling sugar
Directions
- Preheat oven to 350°F. Line a mini cupcake pan with liners.
- Whisk flour, baking powder, and salt together.
- Cream butter and sugar until fluffy. Add egg and vanilla.
- Alternately add dry ingredients and milk, mixing until combined.
- Fill liners ⅔ full and bake for 12-15 minutes. Cool completely.
- Prepare frosting, divide, and color.
- Pipe frosting onto cupcakes and coat with sugar. Serve and enjoy!